Tuesday, May 17, 2011

A Whole New World

We may have lost all activity on our blog since our last post was in November, but actually we have been pretty busy around here in The Blooming House. However, we have only gotten as far as documenting the progression of our home without sharing the final results. Our camera(s), digital and cellphone have been reaping the rewards with nothing to show for on the blog unless we have any visitors drop by and we are able to share first hand.

Since we last blogged we have extended the living space of our home by adding a new stairway to a fresh and clean new basement. Hence the title to our post, a whole new world. No, we're not singing Disney tunes over here, although we're so happy that we just might! Let us explain...

When we first moved in The Blooming House we had every intention on tackling the basement as it was (semi)finished, but very much project-worthy. It was such a great space that seemed to be untouched by the previous homeowners, but we quickly learned it was not quite up to living-par lets just say. Unfortunately we had to learn the hard way that the peel n' stick tiled basement had become the litter box of what seemed to be 10,000 cats. Ok, so I'm exaggerating, but the reason the ammonia levels were so high once we were ready to project the heck out of the basement was all because of a few tarps we had laid down months ago.

You may remember the workstation we had set up in the basement when we removed all the kitchen cabinets to sand and paint them. And if you scrolled strolled down memory lane in the link, you'll see all the tarps we laid down to protect the cabinetry and definitely not the floors. Well, we finally came to the big day when were were ready to remove the tarps to rip up the lovely faux marble peach and navy blue, WITH gold trim detailing I might add, peal n' stick tiles from the basement to make a fresh start.

But it wasn't so fresh. You see, we created a MONSTER under those tarps because for months we were not aware of the massive amount of dried cat urine on the tiles. (yes, we totally left this portion of the house untouched and shoes were a must when visiting the depths of our house)

Sidebar: I know this is really gross to share, but I'm only informing you for your own good as there were a number of steps to take to move forward in this project without us hightailing it out of the house for good and never looking back. PLUS: someone out there may stumble across a cat problem of their own and the information we had found was very helpful since our basement reno was a success in the end!

So there we were removing the tarps from the floor and the stench just continued to wrap around us   more and more. I seriously asked Tommy if we had ruined our home by allowing the tarps to create a place where moisture was building up and the cat urine had grown to unsafe conditions. We knew that the owners had a cat... but this was just crazy. And in comes my exaggerated 10,000 cat count again, that is how bad and dangerous the smell was, with masks on and all. It was just so frustrating to experience something so sad and neglecting to their family pets, but to allow their home, that we find so important to us, to get to this point.

But moving on since I feel as we may lose any remaining Blooming House followers by the second. To fix the smelly issue we researched online that once the tiles were removed that we would have to follow a strict regimen of a bottle of straight white vinegar, (not diluted) let the concrete floor dry out with the help of two rotating fans and then to follow up with a healthy batch of a diluted bleach wash to add to the smells of chemicals in our house. All we could think of at this point was, "Anything but the cat smells." We of course did these treatments with masks and tried to keep the fans rolling to keep a good air flow.

Here's a look at how it appeared from the lens of our camera that smelly day.

 Tommy kept his spirits up as the ammonia levels rose.

 We picked up an ice scraper from Ace Hardware that was the exact width of our lovely tiles so... sayonara suck-ahhs! The ice/tile scraper did the trick in less then 30 minutes.

The demo also include the removal of the teal baseboards that the sellers had picked out and installed to go with their delightful faux-Vegas hotel flooring, exhibit A.

Along with all the hard work we put into this particular demo (and yes, I DO participate and not just in the photo shoots) we were unable to recover a few fallen nails while piling up the baseboard trash out back and ended up with not one flat tire, but replacing two and one of them had two nails in it. Two points for the cat pee flooring. (sigh)

At this point, we learned from our good friends at Ace Hardware that the next part to our feline fix was to paint the floor with a special kind of schalack that would knock out the smell and any stains left behind, along with locking out any moisture being that it is a basement. We were warned it would be, get this, incredibly foul smelling. Okay, so we're covering up the smell with... more smell? The Ace guys weren't kidding though. It was even more intense then the ammonia, but the next day the smell was magically gone and we were smooth sailing onto the next step in the reno - new flooring!
We had to remove the current carpet on our stairs off the kitchen since it was going to get re-carpeted as well. I'll refrain from any more cat convo, but we are now cat dander free!

This is before the removal. The door at the top of the stairs is the back door, otherwise known as 'the blue door' that we decided to keep in its original form while renovating our kitchen to give you an idea where we're at in the house.

I will not lie, I did not partake in this portion, but let me be clear, he was a proud lil homeowner that night. Once the carpet was up then came the removal of the foam, tacking strips and staples. That part was pretty time-consuming.

 Door Number 1 straight ahead is what I like to call, 'the creepy closet' which holds most of our home reno tools and paints. Door Number 2 to the left is the stripped basement and Door Number 3 to the right is what we used as our dumping zone.

We created a very unorganized area, aka The Dumping Zone in the laundry room while working on the basement living area. After the carpet was installed we got our laundry room back and I got the itch to reorganize and do a little selling on Craigslist of my own after de-cluttering the area.

We contacted a few carpet vendors to come out and show us some samples, but after the first guy found a discounted price on a "scrap" piece in the warehouse, we were sold and set up the installation day! One hour and 15 minutes later that day, here's what the installation guys had left us, A WHOLE NEW WORLD down there!


After painting the stair's woodwork to match the remaining house trim it really brightened things up!

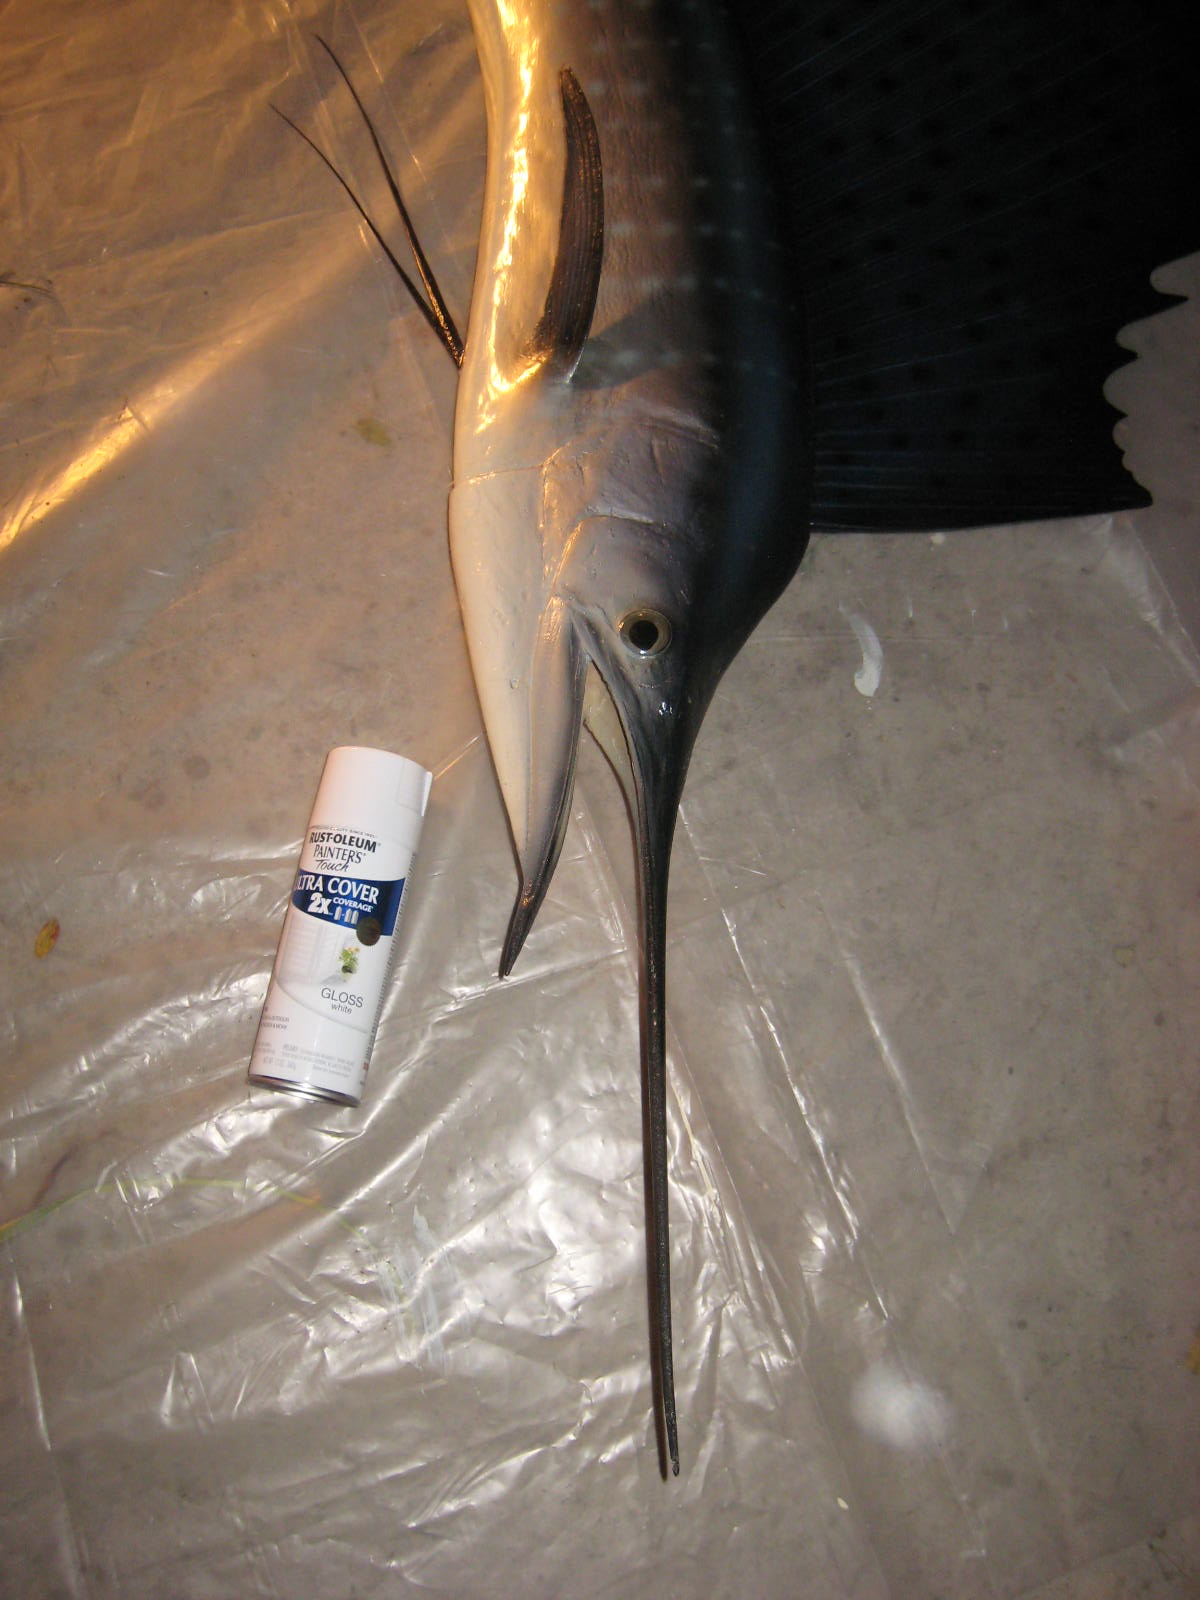
We had to remove the railing in the stairway to paint and match it to the rest of the woodwork. Best idea yet: before the carpet was installed, (because it was so grimy) I sanded and spray painted it right on the basement floor to prime it and then put on a nice coat or two of our Moonlight White paint by Behr that we use throughout The Blooming House.

 Oh how I love our blue door.


Since the final photo of the carpet installation we have re-painted ceiling with a nice clean white coat, washed and painted the walls a pale, mint green and installed new baseboards while checking off the tasks as we go.


With the carpet down (and soon you will see the finished living space) we're SO happy with the final outcome. It truly has become a whole new world down there.

Stay tuned to the next post with photos of our finished basement all moved it. Along with a sneak peek at the accent wall feature that we're looking forward to installing. (Hopefully this summer!)


Monday, November 8, 2010

Catch of the Day!

Some of you may know our love, (and my obsession) for sushi. And some of you may know my love for fish, the alive- and swimming- kind. But what only some of you know (as it is oh-so-shameful of me) is that I do not keep fish for very long. It's ridiculous, I cannot even begin (or admit) just how many casualties I have had from my tank that I purchased back in 2006 as a gift to myself. It was to celebrate my first job out of college and I was ready to become the fish expert I had always wanted to be. But I think I'm the exact opposite. I started way back when with a cute lil guy I named 'Samule'. But unfortunately, I went through far too many Samules before I finally retired the name and moved on. There was Lucy, Talula, Franny, an adopted fish from a friend named 'Einstein' and re-named to Francesca, Norm - yes, named after Tommy's brother, Tito... oh man, I have to stop before PETA contacts me. Anyways, to put it lightly, whenever Tommy and I would go to the fish store he would put his face up to the glass as I eyed them up and would continue to say "Swim away! She's going to kill you!"

It seriously has brought me to such levels of aggravation as to how many fish I have gone through that after my last and present fish, 'Flo' I have contemplated of getting rid of my beautiful 25 gallon fish tank...of death. I feel like I'm known as the 'fish killer', with or without Tommy taunting me at the fish store, and the fish experts clearly know who I am, because they know how big my tank is and how many (or lack there of) fish I have in it (this is a standard question in the world of fish sales) as they are always very willing to try and help the crazy fish killer.

Anyways, no, I did not get another friend for Flo, risking the (knock on wood) chance of killing her and sending her to the porcelain Gods where all my other cold-blooded friends are, but we did get two new unique fish to welcome to The Blooming House.

The first one: both Tommy and I are very happy to welcome into our home because it came from over seas and is quite the beauty. And not to mention it weighs about 25 pounds. So, NOW you ask, umm... isn't your tank 25 gallons? Yeah, I may kill fish (on accident of course!!!) but I'm not that dumb. We packed it up quite nicely in our carry-on suitcase, were stopped by Bahamas' Customs and traveled back to the great state of Minnesota with our beautiful honeymoon souvenir.


We absolutely love this hand carved, wooden fish by a local artist while in the Bahamas. We even asked the artist to carve his name and date it so we'll never forget how special this big guy is to us. We got a few questions bringing it back as it is the size of a small suit case, but we love it!

The second welcomed fish took some prep work. Being that he's 73 inches long, we had to get The Blooming House ready for this guy! We inherited a beautiful mounted Sailfish from a family member who had caught it off the coast of Mexico during his world travels in the 60's. After repeatedly asking Tommy's parents if it was okay to do what I was about to do, being that the family fisherman and previous owner of the Sailfish had passed away this year, I began my biggest (again, 73 inches) craft project of all time!

I wanted to mount the big lug none other than it's true home, above a great big mantel. But I wanted it to pop off the freshly painted "graceful gray" and "fashion gray" to be exact, living room walls and give it a more sophisticated look. So we picked up a can of glossy white spray paint and began our extreme, but extremely easy makeover in the garage.


Tommy's giving him a lil spay of 'Fin-aca' breath freshener here.

This was after only one coat, but he was definitely on his way! And we couldn't be happier.

We wanted to put just a few more sprays here and there to make sure we would catch any signs of blue from under the belly and whatnot so I trucked out to the garage one night, where he was safely stored away to do some touch-ups. After learning that spray painting in the cold does NOT do wonders, we ended up with some bubbling action, which made me feel like I just killed the already dead fish. I just could not catch a break! 

We decided to haul it into the basement to thaw out and do a couple rounds of light sanding in the bubbling areas and then hit up with some primer and then again with the glossy white paint and he was back in action!

We hung it up tonight proudly, as if we had caught it ourselves, but really we just graffiti-ed the heck out of it. And as I have said in most of our reveals, voila!


Unfortunately, this shot shows my laziness of not getting to the bottom half of our two-toned gray wall paint, but eventually we'll get there. I'm just hoping the 73 inch Sailfish on the wall will distract you from it for now. We are still working on getting the basement done. (new project post to come!) We haven't finished the upstairs living room because of the basement renovations so we have a few random items stored in not-so-practical locations. (notice our stairway railing seated at the foot of our fireplace)

(Sigh)

We're moving along with projects in the house, checking off plenty of little (and big) tasks as we go, but in the meantime, we now have what I like to call "Mantel Jewelry". And it truly is a piece of art for us as weird as it may be to some of you reading this post. We like to think Mr. Sailfish is a great catch! (Thanks to my brother for letting me steal that line. I couldn't resist!

Tuesday, November 2, 2010

A Stroll Down Elm Street, er, I mean Memory Lane

In lieu of the great holiday of Halloween, I thought I would take a look back at all the fun Tommy and I have had together making our costumes (before The Blooming House even existed) and show you some of our Halloween costumes before we, the Mr. & Mrs. even existed! We both have so much fun on this holiday so why not share and show just how much fun?!

The first year that we decked ourselves out was the year we sadly admit we were hooked on a certain trashy television show on VH1 back in 2007. It was a story about how one man was on the journey to find his one true love. But along the way there were cat fights, a mass quantity of women in lack of clothing and many, many laughs of just how trashy these people really were, that we knew we would have to proudly support our guilty pleasure. That year, ladies in gentlemen, we became Bret Michael, lead singer of the 80's hair band, Poison and third place runner up, 'Heather' from the show called ROCK of LOVE.

(courtesy of googles images)


It was just too perfect! We loved how ridiculous these people were and couldn't pass up the opportunity for one night to be them. We thought we'd be taking a chance since we didn't think too many would know who we were dressed up as, but little did we know the Rock craze that year.


Every episode consisted of an elimination ceremony where the girls running to become Bret Michaels' 'rock of love' would get all dressed up. Some like they were getting paid to dance on a pole, if you know what I mean and some like it was a high school homecoming dance, with a mix of the whole pole dancing thing as well. And Bret would one by one drop these train wrecks off the stage by telling them "It was their end of the tour" and take away their "Backstage Passes" as they blurted out profanity for not getting picked .... C'mon! Of course this was all too perfect to poke fun of! We loved every minute of it and actually it was such a big hit that people at the party (that we didn't know) came up to us, asking if they could get their picture taken with us. So apparently we weren't the only ones out there watching this garbage!

 
OMG - I 'heart' Bret Michaels!

For our 2008's costume I wanted to do something really fun and a little less trashy. We had been searching for the right idea and there it was, a blast from our past and way too funny to pass up. We were going to accept the Double Dare.


This year was pretty easy for costume shopping and preparing for the late 80's family tv show on Nickelodeon. (we side-stepped the trashy tv series this year) All we needed was two tees for me to design an iron-on logo, red sweatpants with the elastic waist and ankles, some knee/elbow pads and tennis shoes. The googles and hats were found online, but what really made the costumes, I thought, was the slime. I found the most perfect, lime green vinyl to give it the whole 'Nickelodeon' effect.


Like the year before, we had a great time and by the end of the night, Tommy tried to smash an egg on my head during a 'Physical Challenge' in the middle of our annual Halloween party that we go to, but the joke was on him because no one knew it was going to be a hard boiled egg.


So, now we move onto 2009. This was a good one. Well, I just think the costumes keep getting better because we love every year of this holiday! We didn't think it had to be a couple's theme, but it just so happened to work out that way again. 

My thought on a couples theme for Halloween costumes work so well because they play off of each other. I couldn't play the trashy 'Heather' without my Bret Michaels. And I certainly wouldn't be anything without my Double Dare partner. The other person just becomes an addition or an accessory to each other's costume. 

We went to our favorite resale shop during the Halloween craze and found this ridiculous red and white polka-dot jacket, equipped with puffy shoulders and lace sleeves. We then decided I was going to have to hunt down a long, red dress because this Valentine's Day baby was going as the Queen of Hearts! Once I found my core pieces for my costume, we decided it would only be fitting for Tommy to go as The Mad Hatter.

Without even thinking of the Alice in Wonderland's remake that year (and not to mention this particular couples costume idea was in the top 10 popular costume ideas) we found the remaining pieces and hoped it would live up to the standards of The Queen of Hearts and The Mad Hatter. After realizing the connection to the movie remake, we decided to go the more cartoon route for the look since the movie had some hard core costumes to live up to!

Being that my birthday is on Valentine's Day, I have always considered myself "The Queen of Hearts" since I have quite the collection of hearts and have been very proud of that special, red day. So I was very much excited about this one.

It's funny to see us standing in front of the wall-o-tools, but here were are again, back in the garage party that we go to every year and have a blast!

We were lucky enough to celebrate and sport our proudly made Halloween costumes to not one, but three costume parties and taking home a winning prize from one of them!

 I felt like a dog coming out of surgery in that collar, but it truly came together so well for pulling a bunch of pieces together and creating one of my favorites!

And here were are, now: October 30th (since the party was on a Saturday) 2010. This was the year that was tough on us for the Halloween planning since we had so much going on this year. We bought a house to start it off in January, a project house that is. And we also got hitched in October so we were planning for a little over a year for that one big day. Lets just say that our enthusiasm for Halloween costume planning fell short, which was a big deal since as you can see we love planning for our Halloweens. 

So there we were on our honeymoon, less than a month (in fact about a couple weeks away!) from this year's Halloween in the beautiful Bahamas when the idea hit Tommy.

We stayed at an all inclusive resort in Nassau where the drinks were cold, the food was coming at you left and right and the staff was amazing! I kept telling him how I loved the costumes that the entertainment dance crew wore when we went to a private island party. And that my friends, is where our costumes became.


With my good friends "Crazy Ray" and Mr. Halloween Costume Inspiration, Tommy came up with the idea of going as professional wrestlers. I have never been a fan, so I was unaware of the reference when he said the neon "fringey" look that I was loving so much was very similar to a beast-of-a-man by the name of "The Ultimate Warrior". 

Umm, Whoa-

I was able to barrow a muscle body suit from a friend, so at least I had that covered, literally! Now the spandex, that was a different situation. I went to my favorite store, JoAnn Fabrics and found the BEST and crazy close-to fabric I could find and made my fringes. But after that was done, I feared the  speedo. I decided to just give it a shot and try and make it since it would be waay too hard to find the right look. After about an hour with my sewing machine, while babysitting (after hours, of course) I kinda took a step back and thought, "Huh, not too bad. Not much there, but not too shabby." I had already found white patent leather boots (crazy, I know!) and just decked it out with all the spandex I could never want.


Now, for Tommy, he wanted to go as "Rowdy Roddy Piper" equipped with his very own kilt. I had to figure out where the heck I was going to find a kilt, BUT again at our favorite resale store for Halloween, I found Grandma's Scottish-plaid, flannel night gown and turned it into a skirt. I didn't think the puffy sleeves and detailing of lace would cut it, so off it all went. Because we were short on time, I agreed for Tommy to order the screen-printed t-shirt off ebay since I wouldn't be able to design and do another iron-on like I had for Double Dare. He had the boots and the knee pads were from Double Dare, so really it was just cutting off handles on an resale bought purse and adding some chains to create his "pouch". The pouch was awesome because I didn't have much "pocket space" you could say for my phone, chap-stick and whatnot so Tommy carried it all in his purse, er I mean pouch!

I had the hardest time getting into character, as you can see with my cheer leading stance.

But it didn't take that long...  :)

And others were there to teach me the way.

So there you have it. A look at all of our costumes since have met and now married. We look forward to Halloween as you can see and we're even more thankful for having such a fun, creative crowd to sport them to every year. We have one or two wins under our costume belts, but this year, I was the Ultimate Winner.

Hope you all had a Happy Halloween, we sure did!


Sunday, October 24, 2010

The moment we (and our fans!) have been FINALLY waiting for...

HELLO, ello, elo! Can you hear me, hear me, er me(crickets)
Wait, is this thing on?

To anyone out there that is still cheering us on as Tommy and I embark in not only home ownership, but now married life, we thank you. We thank each and every one of you that has approached us, emailed and called us out with 'what the heck is going on at The Blooming House??' As you can see it's been since um, July when we last posted about our corner hutch revamp. But jumping to October 9th of this year, we said our 'I do's'... tears were shed (I was a cry baby) and we celebrated our faces off with amazing people in our lives and we can finally get back into the swing of things with The Blooming House as it is our most prized possession that we come home to every day.

I must say that in the last few months that we disappeared from you all and planned the wedding of the century might I add, (well, of October since it was a beautiful wedding season for friends and family this year) we had our ups and downs and one included an over flowed toilette that continued it's way out the hall and down the stairs. After all was contained and toweled down, we heard faint sounds of a relaxing-like water feature in our house. Oh wait, no, it was coming out of our beloved newly installed chandelier in our front hall. Not my kind of relaxation. But enough of toilette water. Let's get to (Que the trumpets, please) The Big Kitchen Renovation Reveal!!! It's about time already, I mean it has been since February....sheesh!


Welcome to, oh well, you get the picture...

I found this really cute chalkboard at IKEA awhile back and we just love it as it sits perfectly by the back door where we can grab keys, glasses, leave love notes and GO! It has two tin dishes (not shown) that holds the chalk as well as a small note pad and marker that will make sense later.

Can we offer you a cup of coffee... from our new wedding coffee maker and cute cream and sugar combo to complement? (This is going to be a long tour, it has been almost 8 months now)

 Opps! I think we may have shown too much already, moving on...
So lets go head back to where we started, the back door.


The kitchen's back door was always this strange-of-a-choice blue and we had every intention of painting it while going through this process of the kitchen make-over, but after all was said and sweated over, we realized that the blue kinda worked with our choices and it was kinda, kitschy. So blue it stayed (even after I was very careless with my wall trim painting and got white paint on it, but eh, whatever. I just love this door. 

You'll also see aside of the white trim to match our soon-to-come white cabinets, the walls have been painted a very light and neutral tan and a darker version to go in the back hall. (where the back door is and moving downstairs to the basement) In the photo, the two tones are harder to detect, but in person it gives off far more dimension than you see here.

Moving to our left is our pantry wall of cabinet space. The house was not built with a front hall closet unfortunately, but because of the WALL of cabinets, we give to you door number one and two for coats, winter gear and supply of overstock. But what's behind door number THREE is my Ooo and Ahh moment that I would like to share!

It's really not that great, in fact, I'm showing you our garbage, but it's our recycling center! I love it since we have to divide up our recyclables out back and this cabinet was just too perfect for the job.

Ok, moving on...
So, here she is! All shiny and new!

But before we continue, lets look back, shall we?


We can't believe it's the same kitchen when we look back at these. So fast forward again into the NEW kitchen and stay that way, shall we?

Here's the breakdown of what has been down to give you an idea just how hard we've been working ON TOP of planning a wedding:

- New light fixtures installed in the center and in back hall
- New wall paint (two colors) and new ceiling paint since the entire room was painted in one color, I've been known to call it "Silly Putty", but now it's a light and dark "khaki" if you will.
- Washed, sanded and painted all the cabinets
- New hardware bling
- We removed a cabinet section to fit our beast of a fridge. The cabinet sat above the pass through window
- Brand new stainless steel appliances al la Warner Stellian including french door/bottom freezer drawer fridge, dishwasher, mircowave, and range. (installed the over-the-head microwave as well as an outside vent)
- We had a plumber convert from electric to gas for our range as well experienced a few gas leaks at 2 am. That's one of those "up and downs" that we were referring to and choose to move on from.
-We had new travertine flooring installed as well as our blue, glass subway tiled backsplash
- We had granite countertops installed and added prep space by extending the area on the other side of the pass trough window
- New stainless steel under mount kitchen sink
- Brought in bar stools for our very own eat-in kitchen option.
And last but not least..
- Created a message center

(Phew!)
Tommy picked out the door handles since I got to pick out these babies!
We still have to figure out if we want to have a new pull-out cutting board made to replace the questionable existing one, knowing how 'clean' the kitchen was when we got our hands on it, as well as some minor tweaks on our Lazy Suzan cabinet, but other than that we are done and DONE!

Our color palette of the kitchen all goes back to these lil guys.
 
My mom sent this salt n' pepper shaker set to me for my birthday back in February and I just loved the bright orange color they had in them. We had already had our hearts set on the beautiful blue glass tile, so I did what I love to do most, picked from the bright colors that I will always stay true to and use it as an accent color in the kitchen. And in came Mr. Tangerine...

I LOVED this tangerine mixer when we were registering for our wedding and it just sits so well on the countertop in the spotlight of our new light fixture. A shot out to the Peters Family for this beautiful baby!

We chose a earthy, warm mix of colors for our countertops since we were going the white cabinetry route. To my surprise, countertop and tile shopping became my kid-in-a-candy-store experience. And on both final days of installation it was like opening gifts on Christmas for me.

 
 We also thought out our color palette when it came to what it would look like on the other side in the dining room. So we picked a blue color that best matches the tile so that there is an easy flow from dining room to kitchen. Plus we are using both black and browns in the dining room, so the countertops fit right in.


- Before -

The funny thing about this kitchen renovation, other than re-finishing the existing cabinets, is that we did not keep anything in this room, EXCEPT the sink faucet.


Here's another up-close shot of the tile, but I want to share with you a very special wedding shower gift passed on by my extremely talented uncle back in Wisconsin. Along time ago, he handmade these cutting boards for all of his siblings as Christmas gifts of all the states they live in. My mom has a Wisconsin one and I too now am a proud owner of my very own. It's very special to me, not only because it was handmade by a family member, but now it recognizes my new life in the great state of Minnesota.


Here's a quick view of the Message Center I have created and I plan on showing you how I made it on my craft blog, Loopty Lu and Her Crafty Corner soon. So stay tuned! I really like the bulletin boards because whenever we need something from the store, we can put it up there as a reminder, pin up any coupons for the next shopping excursion (Watch out! Old, married lady coming through.) or just a place for us to hang up any new recipes we'd like to try out. The small pad of paper that you saw sitting on the  chalkboard at the backdoor is for the Message Center. That way it doesn't get too crowded with more stuff over here.

We were able to create the Message Center because we took away a large cabinet over the pass through which in turn really lightened the place up! NOW can you see my reference to "Silly Putty"?

Dinner for 2, please!


(Note: the new blue walls in the dining room and sneak preview of the window treatments we hung up)

This is the extra space that was added to the pass through over hang. It's not quite "bar" material to pull up to, but the good news is that if I were cooking on one side and had people over and saw how territoial I was getting with my prep space they could swing their stools on over into the safe zone on the other side. But honestly, it's really great added space for entertaining and prepping dinner with Tommy. (He too appreciated the extra space since he's very familiar with my territorial monster-ness with my cooking.) The idea of extending the over hang just a tad more (I think it was only 10 inches) was actually our granite guy's idea and it turned out beautiful! And if you need a good granite guy and/or tile guy CONTACT US! We couldn't have been more happy with the work they did in our kitchen. In fact, we're in the process of providing pics to both of them for their portfolios since (we think) it was such a success!!

So there you have it folks! Our BIG kitchen makeover has been completed and we love every inch of it! Thank you again for being so patient with us (and for kicking our butts back into gear with the threat emails) as we are in full bloom again with The Blooming House! Trust me, we already have new projects in the making.
As always, (and if you're still following us) stay tuned! 

Sincerely, 
-The new Mr. and Mrs.